
Table of contents
- How Is Pudding Made from Scratch Easy? A Step-by-Step Guide
- Why Should You Make Pudding from Scratch?
- Ingredients for Easy Homemade Pudding
- How Is Pudding Made from Scratch Easy? Step-by-Step Instructions
- Flavor Variations: Make Pudding from Scratch Your Own
- Serving Suggestions for Homemade Pudding
- Frequently Asked Questions (FAQs) About How Pudding Is Made from Scratch Easy
- Conclusion: Why Pudding from Scratch Is Simple and Worth It
How Is Pudding Made from Scratch Easy? A Step-by-Step Guide
If you’re asking yourself, “How is pudding made from scratch easy?”, you’ll be delighted to know that this classic dessert is far simpler to prepare than it seems. Unlike prepackaged pudding mixes, homemade pudding delivers a rich, creamy, and customizable treat that’s perfect for any occasion. With basic pantry staples and simple techniques, you can master the art of homemade pudding in no time.
In this ultimate guide, I’ll show you exactly how pudding is made from scratch easy with clear steps, practical tips, flavor variations, and serving suggestions. By the end of this article, you’ll be confident enough to make homemade pudding for any event—whether it’s a family dinner, a special celebration, or just a quick sweet craving.
So, let’s get started!
Why Should You Make Pudding from Scratch?
You may wonder why anyone would skip instant mixes and make pudding from scratch. The answer lies in its superior flavor, texture, and flexibility. Here are a few reasons why homemade pudding is worth it:
- Simple Ingredients: Pudding made from scratch uses natural ingredients like milk, eggs, sugar, and cornstarch. You can avoid artificial additives and preservatives.
- Unbeatable Flavor: Homemade pudding has a richer taste and a smoother texture than boxed versions.
- Customizable: From vanilla and chocolate to butterscotch or lemon, you can experiment with endless flavor options.
- Quick and Easy: Contrary to popular belief, making pudding from scratch is easy and takes less than 20 minutes of active preparation.
Once you see how easy pudding is to make, you’ll never go back to instant mixes!
Ingredients for Easy Homemade Pudding
To make pudding from scratch, you need just a handful of simple ingredients. These pantry staples are all you need to achieve that creamy, indulgent texture.
Essential Ingredients for Basic Pudding
Here’s what you’ll need:
- Milk: 2 cups of whole milk (whole milk provides the creamiest results).
- Sugar: ½ cup of granulated sugar for perfect sweetness.
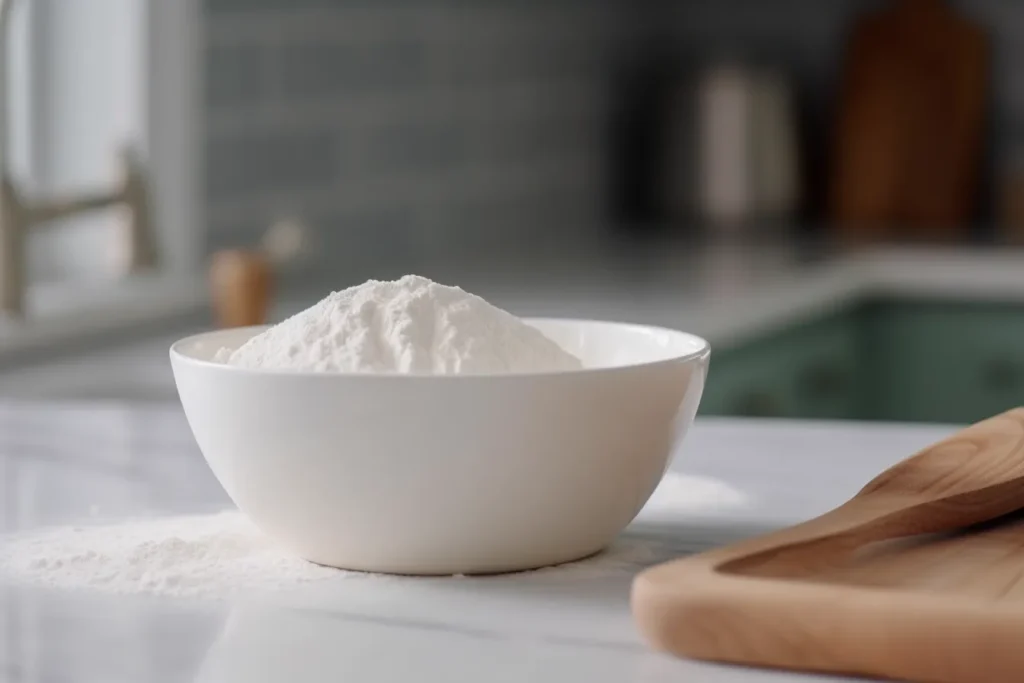
- Cornstarch: 3 tablespoons for thickening the pudding.
- Egg Yolks: 2 large yolks to add richness and smoothness.
- Butter: 2 tablespoons for a silky, luxurious finish.
- Vanilla Extract: 1 teaspoon for a classic vanilla flavor.
- Salt: A small pinch to balance the sweetness and enhance the flavors.
Optional Flavor Additions
If you want to make pudding from scratch even more exciting, try these variations:
- Chocolate Pudding: Add 3 tablespoons of cocoa powder.
- Butterscotch Pudding: Use brown sugar instead of white sugar.
- Coconut Pudding: Replace half of the milk with coconut milk.
- Coffee Pudding: Stir in 1 teaspoon of instant coffee granules.
How Is Pudding Made from Scratch Easy? Step-by-Step Instructions
Now, let’s dive into the process of making pudding from scratch. Follow these clear, step-by-step instructions to create perfect pudding every time.
Step 1: Combine Dry Ingredients
First, grab a medium saucepan. Combine the sugar, cornstarch, and a pinch of salt. Whisk the ingredients together to ensure there are no lumps. Starting with the dry ingredients makes the base smooth and consistent.
Tip: Whisk thoroughly to avoid clumps when adding milk later.
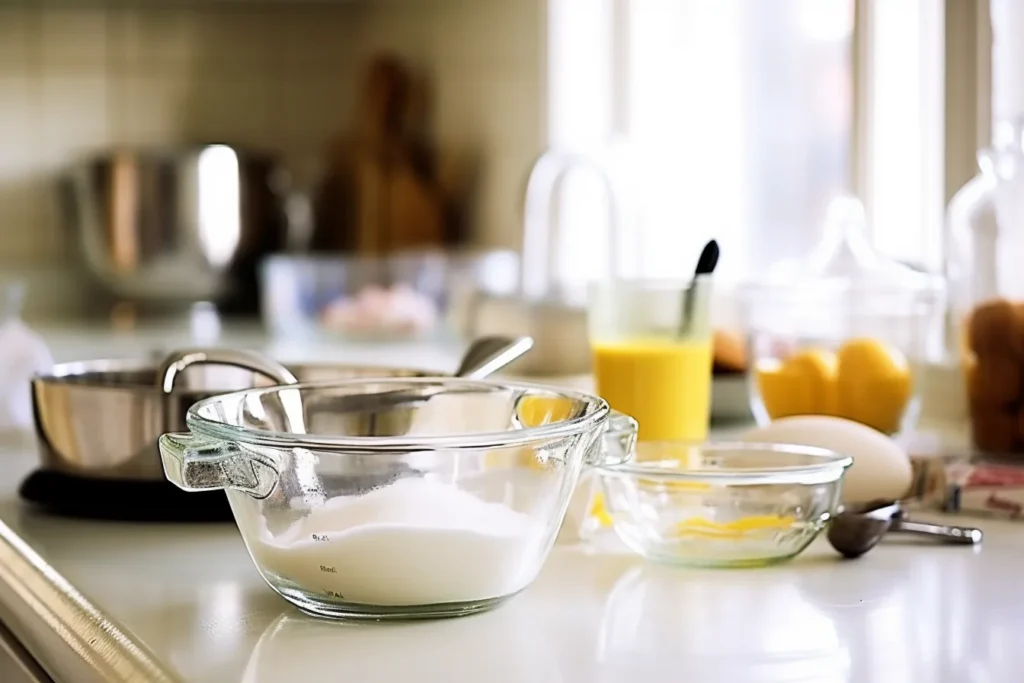
Step 2: Add the Milk Gradually
Slowly pour in the milk while whisking continuously. This gradual process ensures the cornstarch dissolves completely without forming lumps.
- Place the saucepan over medium heat.
- Keep whisking the mixture gently as it warms up. After a few minutes, you’ll notice it starting to thicken.
Why is this step important? Gradual heating activates the cornstarch and helps create that silky-smooth texture we all love.
Step 3: Temper the Egg Yolks
Egg yolks add richness, but they can scramble if added directly to hot milk. To prevent this, you need to “temper” them:
- In a small bowl, lightly beat the egg yolks.
- Slowly pour a few tablespoons of the hot milk mixture into the yolks while whisking constantly.
- Gradually pour the tempered yolks back into the saucepan, whisking continuously.
Tip: Tempering the eggs ensures they incorporate smoothly without curdling.
Step 4: Cook the Pudding Until Thickened
Once the yolks are tempered and added, continue cooking the pudding over medium heat. Keep whisking regularly to avoid any lumps.
- After 3–5 minutes, the pudding will begin to thicken. You’ll know it’s ready when it coats the back of a spoon.
- Reduce the heat to low and simmer for 1–2 minutes for the pudding to fully set.
Step 5: Finish with Butter and Vanilla
Remove the pudding from the heat and immediately stir in the butter and vanilla extract. These final touches add richness, depth, and an irresistible flavor.
- Stir until the butter has fully melted and the pudding is smooth.
Step 6: Cool and Chill
Pour the pudding into individual bowls or a serving dish. To prevent a “skin” from forming on top:
- Place plastic wrap directly on the surface of the pudding.
Let the pudding cool at room temperature for 15 minutes, then refrigerate it for at least 2–4 hours.
Tip: For a warm treat, let the pudding sit for just 10–15 minutes and serve it right away.
Flavor Variations: Make Pudding from Scratch Your Own
Once you’ve mastered the basic method, you can experiment with exciting flavor combinations. Here are some simple ideas:
1. Chocolate Pudding
Add 3 tablespoons of cocoa powder to the sugar and cornstarch in Step 1. For extra richness, stir in a small handful of chocolate chips after cooking.
2. Butterscotch Pudding
Replace granulated sugar with brown sugar to give the pudding a caramel-like flavor. A small pinch of sea salt takes it over the top.
3. Coconut Pudding
Use 1 cup of whole milk and 1 cup of coconut milk. Top with toasted coconut flakes for added texture.
4. Lemon Pudding
Stir in 1 tablespoon of fresh lemon zest and 1 tablespoon of lemon juice at the end for a bright, tangy twist.
5. Coffee Pudding
Add 1 teaspoon of instant coffee or espresso powder to the milk mixture. It creates a rich, mocha-like flavor.
Serving Suggestions for Homemade Pudding
Now that you know how pudding is made from scratch easy, let’s talk about how to serve it!
- Classic Presentation: Serve the pudding chilled in small cups or bowls with a dollop of whipped cream.
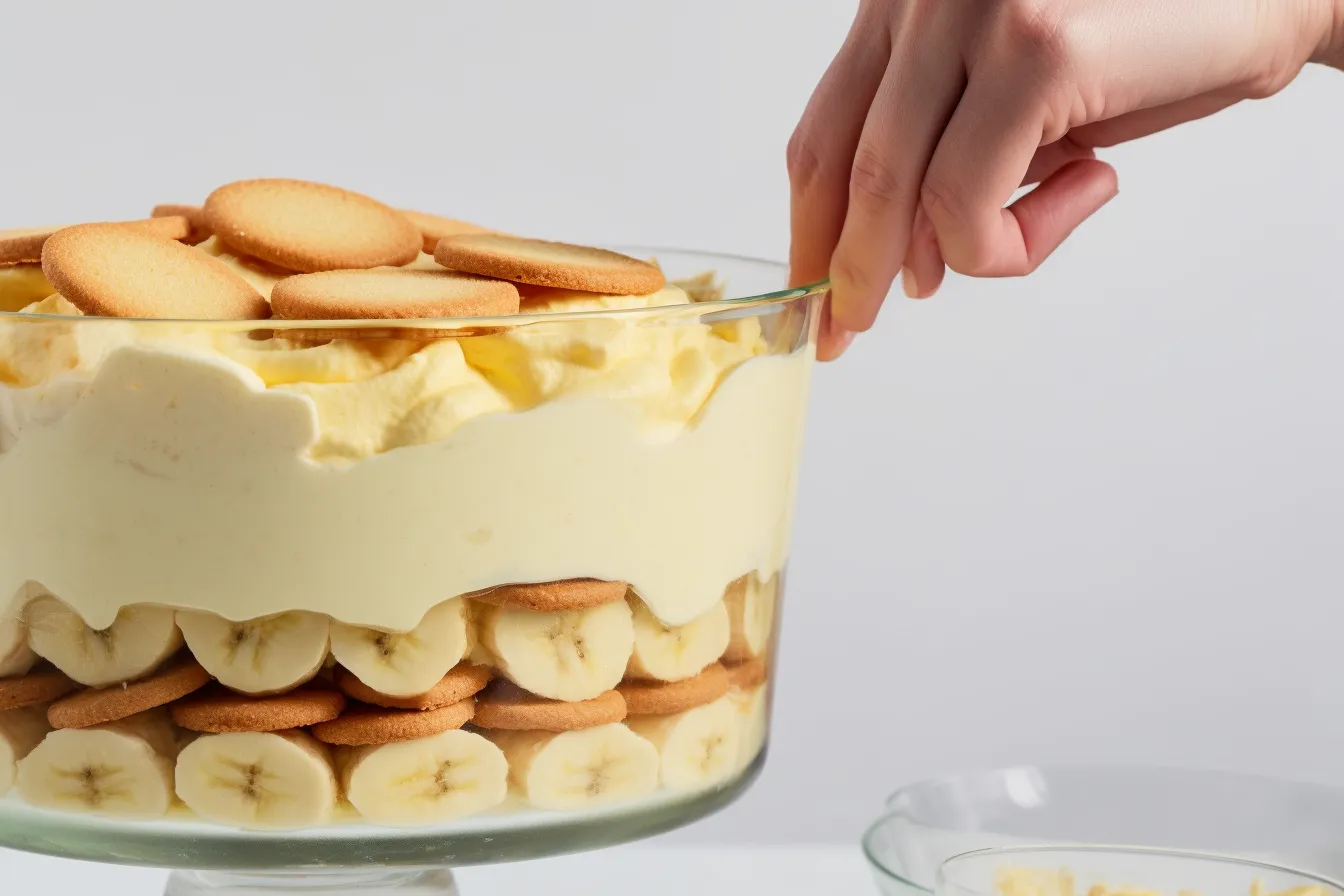
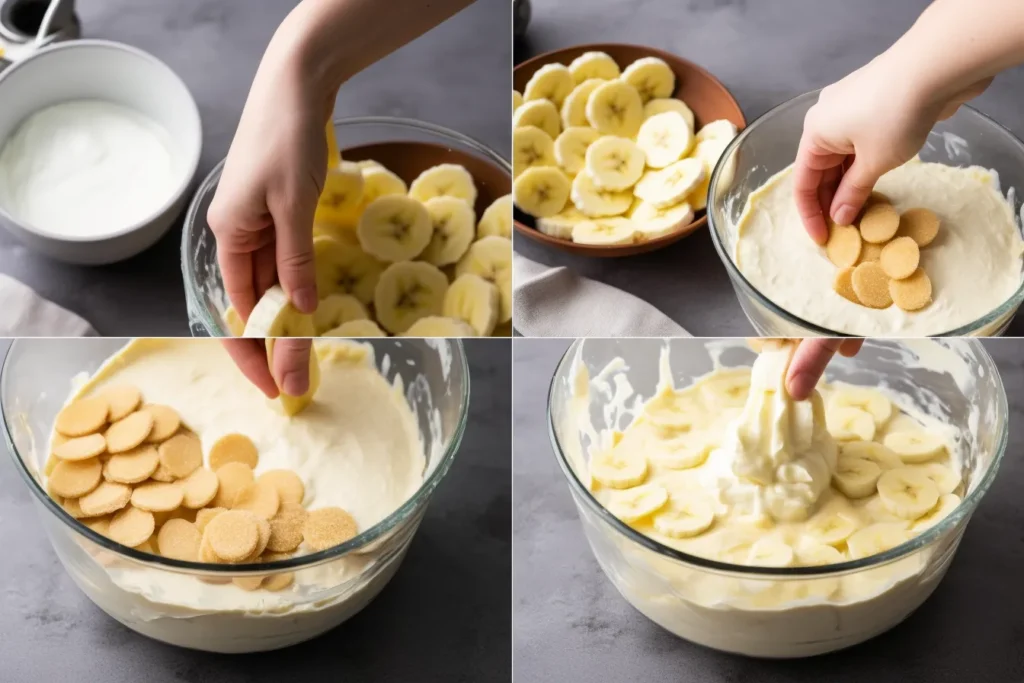
- Layered Parfaits: Alternate layers of pudding with crushed cookies, cake pieces, or fresh berries.
- Pudding Pies: Use the pudding as a filling for pies like banana cream pie or chocolate pudding pie.
- Warm Comfort Food: Serve the pudding warm and top it with cinnamon, caramel sauce, or toasted nuts.
- Toppings Bar: Let everyone customize their pudding with toppings like chocolate chips, sprinkles, granola, or crushed cookies.
Tip: Serving pudding in clear cups or jars showcases the beautiful layers and adds a gourmet touch.
Frequently Asked Questions (FAQs) About How Pudding Is Made from Scratch Easy
Making pudding from scratch might seem intimidating at first, but it’s much simpler than you’d expect. Below are 10 frequently asked questions about how pudding is made from scratch easy, along with clear answers to guide you through the process.
1. How is pudding made from scratch easy for beginners?
Making pudding from scratch is easy because it uses simple techniques and common pantry ingredients. The steps include combining sugar, cornstarch, and milk, tempering egg yolks, and cooking until thickened. Finally, butter and vanilla are added for a creamy texture and rich flavor. As long as you whisk continuously, your pudding will turn out perfectly smooth.
Tip: Start with vanilla pudding—it’s the easiest flavor to master!
2. What is the key to avoiding lumps in homemade pudding?
The key to avoiding lumps is constant whisking. When you add milk to the dry ingredients, pour it in gradually while whisking to dissolve the cornstarch completely. Additionally, temper the egg yolks carefully to prevent curdling.
If lumps still form, strain the pudding through a fine-mesh sieve while it’s warm. This quick step will remove any clumps, leaving you with smooth pudding.
3. Can I make pudding without eggs?
Yes, you can! To make egg-free pudding, increase the amount of cornstarch slightly (to 4 tablespoons instead of 3) to thicken the mixture. Skip the step where the egg yolks are tempered. The pudding will still be smooth and delicious, although it may lack the richness that eggs provide.
Tip: Use coconut milk for an extra creamy, vegan alternative!
4. How long does homemade pudding need to chill?
Homemade pudding should chill in the refrigerator for at least 2–4 hours to set properly. If you’re in a hurry, you can chill it for 30 minutes in the freezer, but be careful not to let it freeze. For the best results, allow it to chill overnight—this enhances the flavor and ensures a perfect texture.
5. What’s the difference between homemade pudding and instant pudding mix?
The main difference is in the flavor, texture, and ingredients:
- Homemade pudding: Uses fresh, natural ingredients like milk, sugar, and eggs. It has a creamier texture and richer taste.
- Instant pudding mix: Contains artificial flavors, preservatives, and stabilizers. While it’s convenient, the flavor and texture are less impressive.
Once you taste pudding made from scratch, you’ll see how much better it is!
6. Can I use plant-based milk to make pudding from scratch?
Absolutely! You can substitute dairy milk with plant-based options like almond milk, soy milk, or oat milk. Keep in mind that the pudding might be slightly thinner, so you may need to increase the cornstarch by 1 tablespoon to help it thicken properly.
Coconut milk is also a great option for a creamy, tropical twist.
7. What are some creative toppings for homemade pudding?
Adding toppings is an easy way to enhance both the flavor and presentation of your pudding. Here are a few ideas to get you started:
- Classic Toppings: Whipped cream, crushed cookies, or chocolate shavings.
- Fruit Options: Sliced bananas, fresh berries, or caramelized apples.
- Crunchy Textures: Toasted nuts, granola, or crushed graham crackers.
- Drizzles: Caramel sauce, chocolate syrup, or honey.
Tip: Set up a toppings bar when serving pudding to let guests customize their own!
8. How do I prevent a skin from forming on the pudding?
A skin forms when the surface of the pudding is exposed to air as it cools. To prevent this, place a sheet of plastic wrap directly on the surface of the pudding while it’s still warm. Press it gently to ensure no air can reach the pudding.
Once it has chilled and set, you can remove the plastic wrap before serving.
9. How long does homemade pudding last in the refrigerator?
Homemade pudding can be stored in an airtight container in the refrigerator for up to 3–4 days. After this, the pudding may begin to lose its smooth texture, and the flavor may change slightly.
If you’re not planning to eat it immediately, individual portions can be stored in small jars or covered bowls for easy serving later.
Tip: Always store pudding covered tightly to maintain its freshness.
10. Can I use pudding as a filling for cakes or pies?
Yes, homemade pudding works wonderfully as a filling for cakes, pies, and pastries. Here’s how:
- For cakes: Use chilled pudding as a layer between cake layers. It adds a creamy texture and keeps the cake moist.
- For pies: Pour the warm pudding into a pre-baked pie crust, cover with plastic wrap, and let it chill until set. Top with whipped cream for a finishing touch.
- For pastries: Fill pastries, tarts, or eclairs with cooled pudding for a bakery-style dessert.
Tip: If using pudding as a filling, ensure it’s thick enough to hold its shape when cut.
Conclusion: Why Pudding from Scratch Is Simple and Worth It
Making pudding from scratch is not only easy but also rewarding. With just a few simple steps, you can create a dessert that is creamy, flavorful, and far superior to instant mixes. Whether you’re craving a classic vanilla, indulgent chocolate, or unique flavor variations, this guide has shown you exactly how pudding is made from scratch easy.
By following the step-by-step instructions, using creative toppings, and experimenting with different flavors, you can turn pudding into a versatile dessert for any occasion. Plus, it’s a great way to impress family and friends with minimal effort!
So, why wait? Head to your kitchen, grab the ingredients, and give this easy homemade pudding recipe a try. You’ll love how simple it is to make—and how delicious the results truly are.
Tip: Once you’ve mastered the basics, don’t hesitate to add your personal twist to make the pudding uniquely yours!
Let me know if you’d like me to expand further on any section or add more tips! 🍮😊